Wall Mount Assembly
Introduction
This kit provides a wall mount assembly for the NCR P1532 POS.
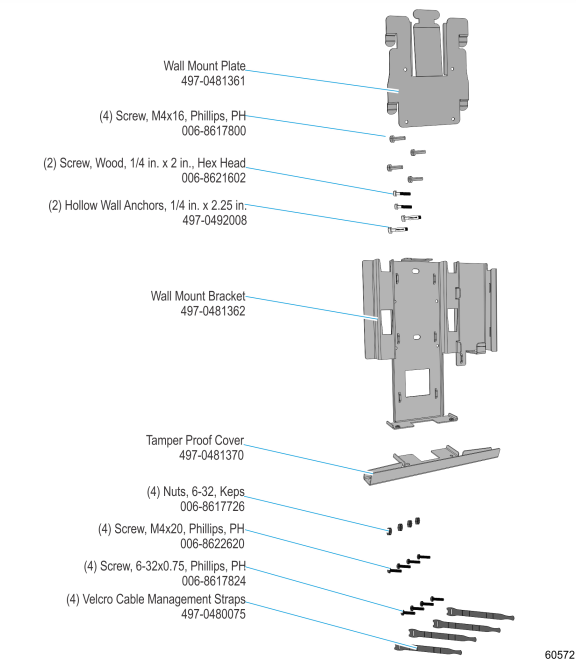
Kit Contents
Installation Procedure
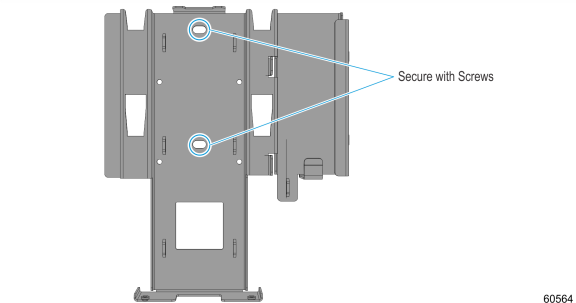
1.Mount the Wall Mount Bracket to the wall. Secure the bracket with one of the following:
•If there are no studs, mount the bracket with two hollow wall anchors (1/4" diameter x 2 1/4" length).
•If there is a stud, mount the bracket with two wood screws (1/4" diameter x 2" length).
Note: The socket–outlet must be installed near the equipment and must be made readily accessible.
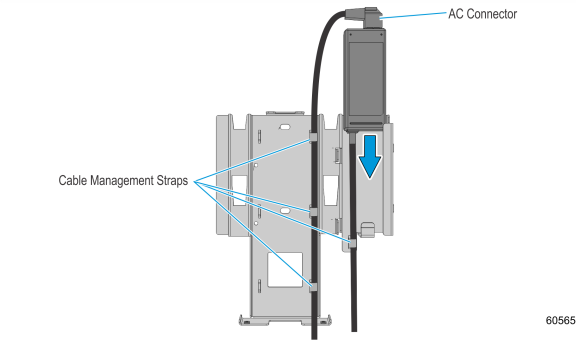
2.Insert the power brick into the power supply bracket (AC connector on top). Route the cables into the pass–through slot. Fasten the cables together using the Cable Management Straps.
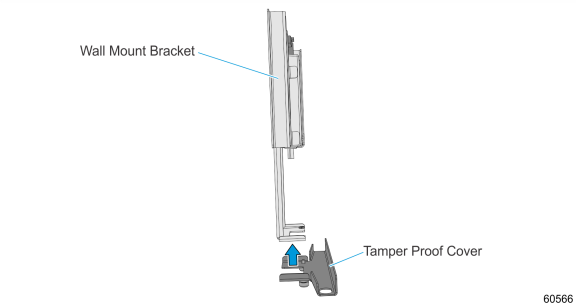
3.Push the Tamper Proof Cover to the bottom of the wall mount bracket.
4.Tighten the thumbscrews (2) to secure the tamper proof cover.

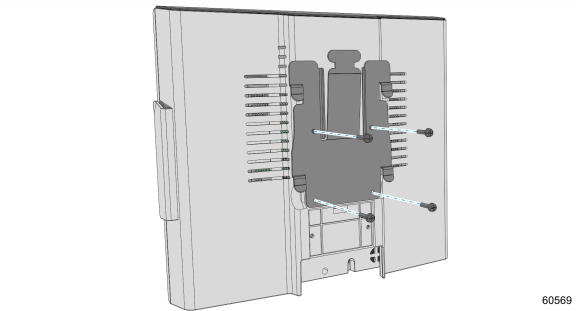
5.Mount the Wall Mount Plate to the back of the terminal head.
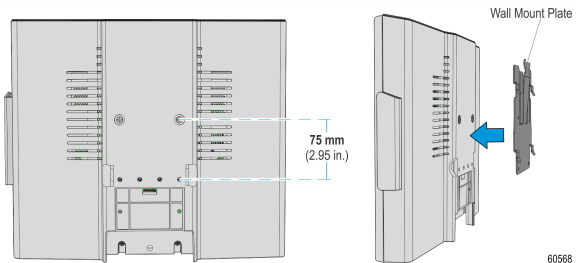
6.Secure the plate with M4 x16 screws (4).
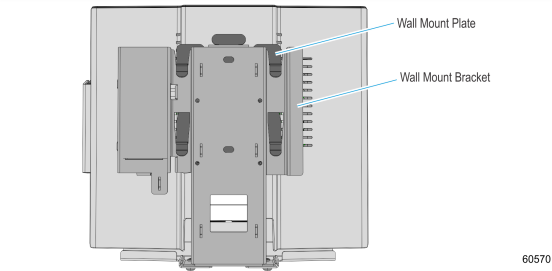
7.Install the terminal head to the wall.
a.Hook the wall mount plate to the wall mount bracket on the wall.
b.To ensure that the latch is engaged, press on the spring clip in the direction indicated below.
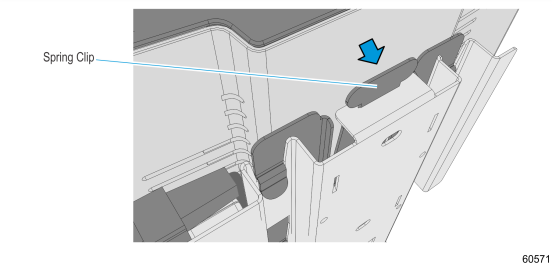
c.To remove the terminal head from the wall mount, press on the spring clip and pull the terminal head upwards.

Note: Additional hardware is provided for a wall mount with a third–party VESA mounting arm.